Hello bakers!
I'm right in the middle of what I like to call the 'paper portion' of the semester so I'm swamped with papers! But I've been having a strong urge to bake and had a couple hours to spare in the middle of the day yesterday so I decided to bake a cake!
I'm right in the middle of what I like to call the 'paper portion' of the semester so I'm swamped with papers! But I've been having a strong urge to bake and had a couple hours to spare in the middle of the day yesterday so I decided to bake a cake!
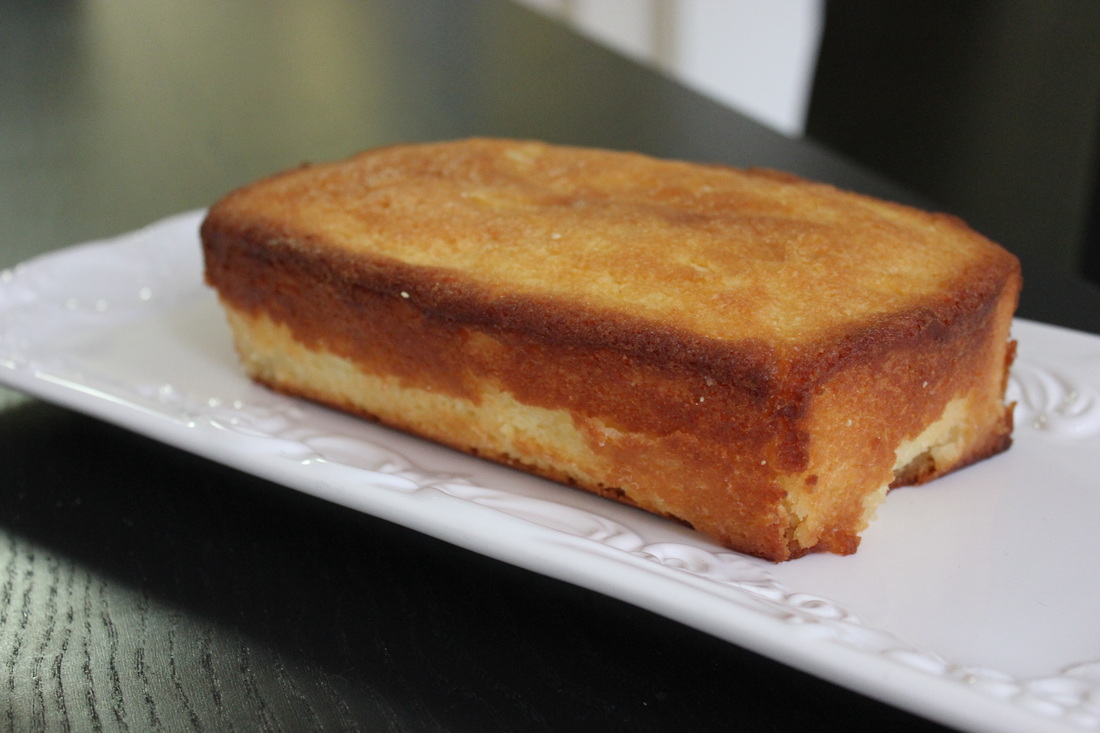
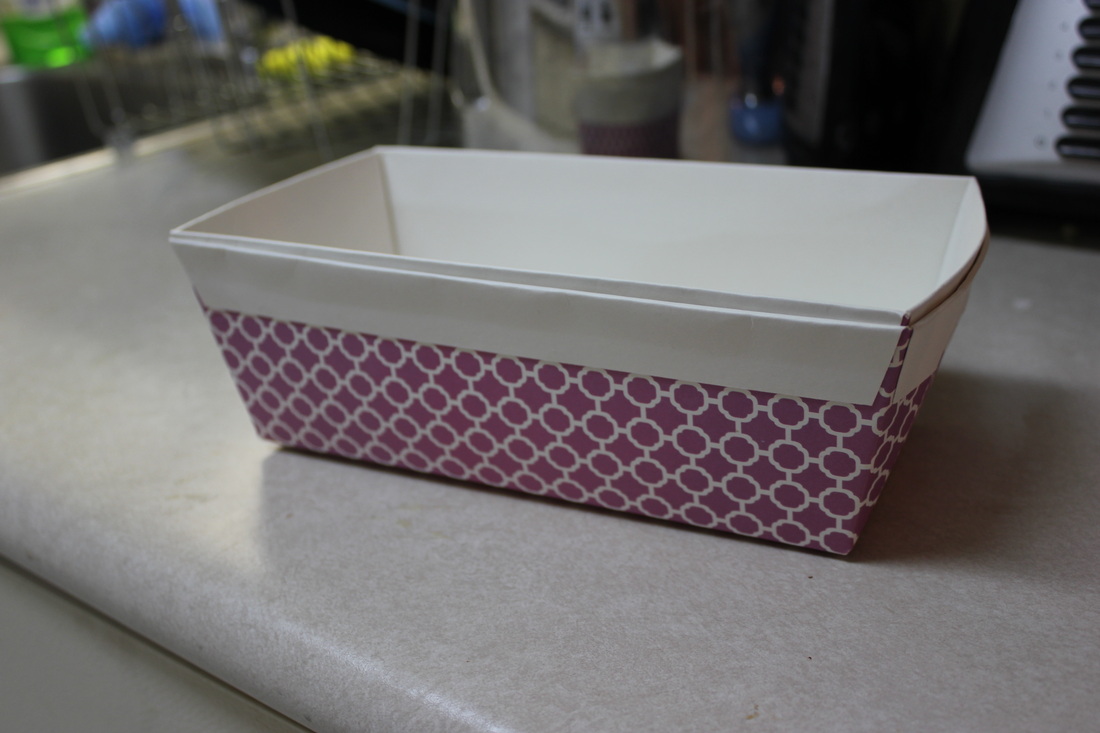
I also bought a pack of paper loaf tins from Superstore the other day (3 for $3) and they are really cute so I wanted to test them out so I decided to make my go to lemon loaf recipe! I'm going to do a semi-review of them for any of you who were interested in buying them.
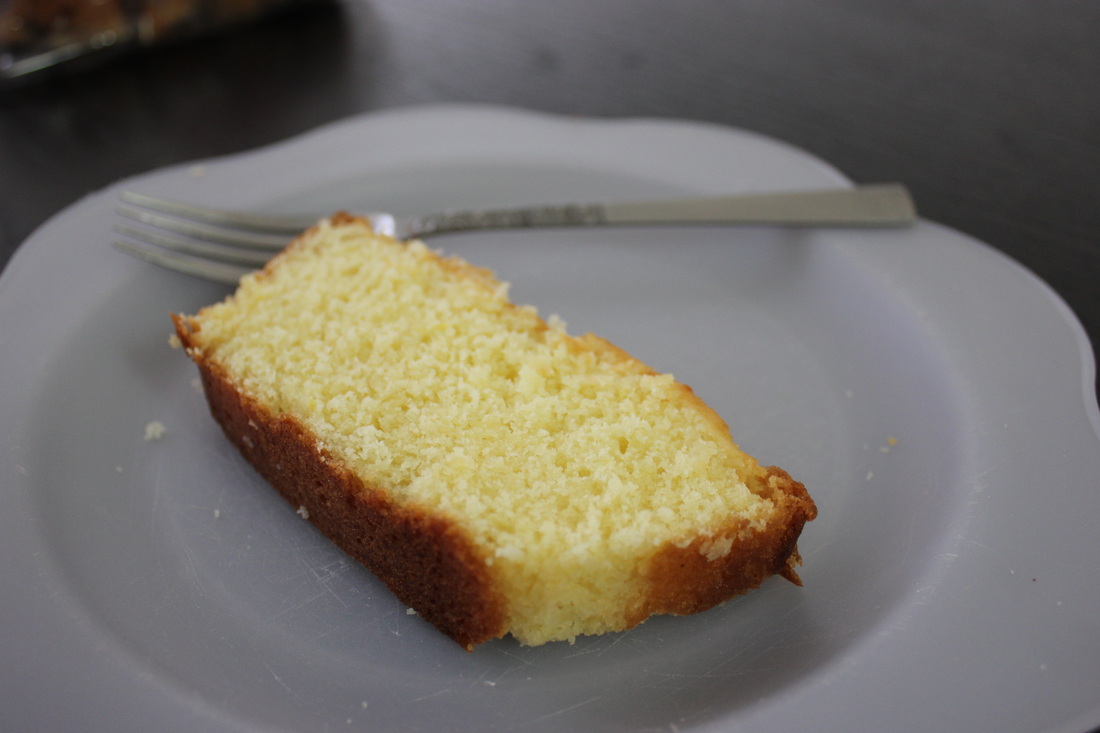
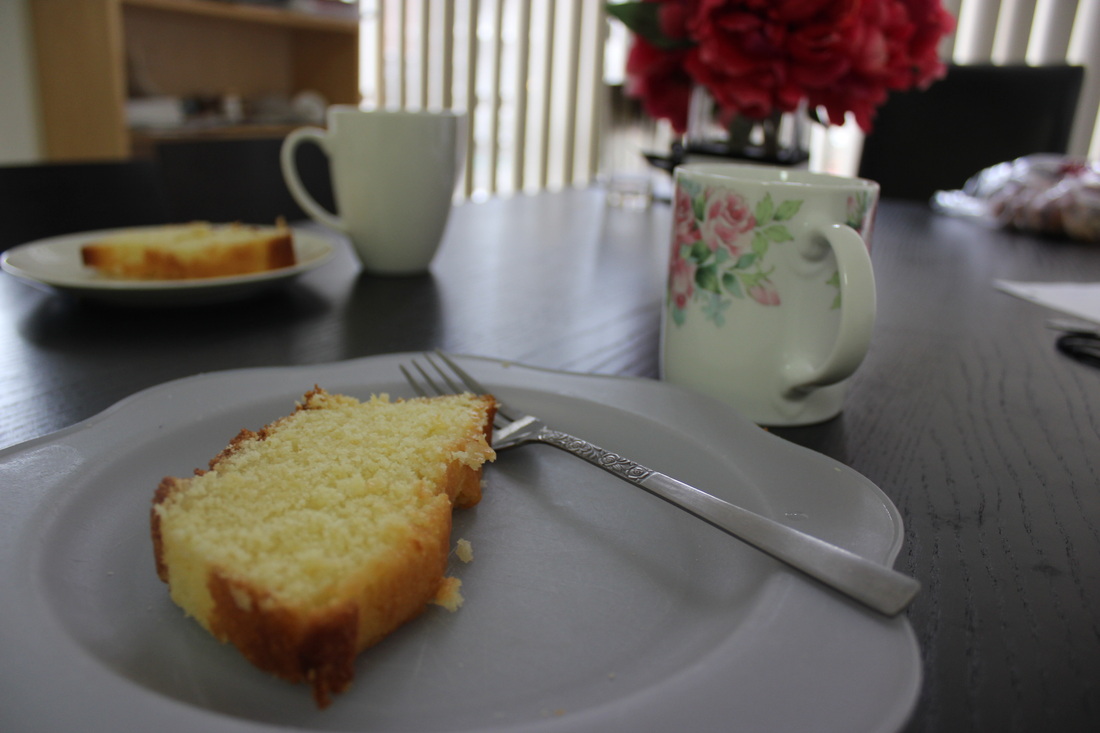
This recipe is my grandma's recipe for lemon loaf and I cannot even count how many times I've eaten it in my life. My grandma lives in Wales and I will usually go visit about once a year, and the day that I'm arriving, she will always make this cake so there's a fresh one for the day that I get there. That's how much I love it (and how much my grandma loves me)!
There's something about her oven or the TLC she puts into it that makes it extra delicious because mine never turn out as well as hers, but it still is delicious!
There's something about her oven or the TLC she puts into it that makes it extra delicious because mine never turn out as well as hers, but it still is delicious!
My Grandma's Lemon Loaf
Ingredients
175 g butter
175 g caster sugar
2 eggs
4 tbsp milk
175 self-raising flour
Zest from one large lemon
Juice from one large lemon
1 tbsp icing sugar
Method
1. Preheat the over to 350 degrees F
2.Grease and line a 900g loaf pan (or use a paper one)
3. Whisk the eggs and milk together in a small bowl.
4. Cream the butter and caster sugar
5. Gradually beat in the eggs and milk
6. Lightly fold in the flour and zest
7. Smooth the top and bake for 30 minutes
8. Reduce the oven to 325 degrees and bake for 30 more minutes (or until cake is golden brown and beginning to shrink from the sides)
9. While the cake is in the oven, combine the lemon juice with the icing sugar and whisk well
10. Pour the glaze over the cake ASAP out of the oven
11. Allow the glaze to set a bit and then remove from tin and put on a cooling rack
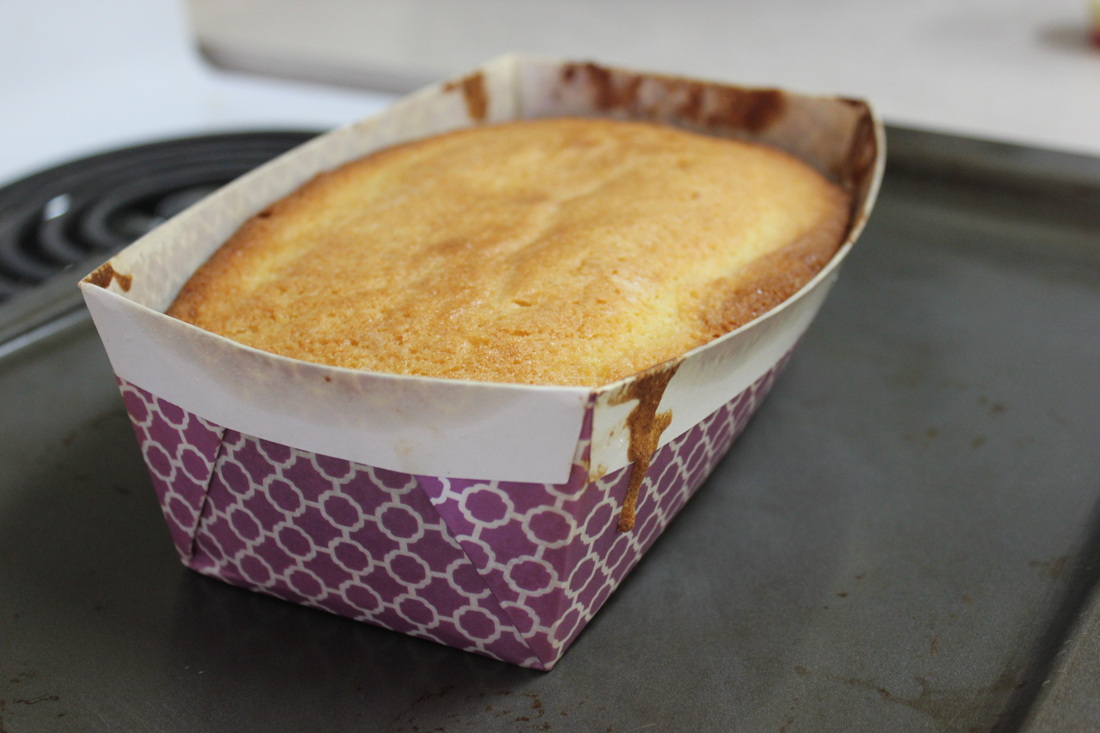
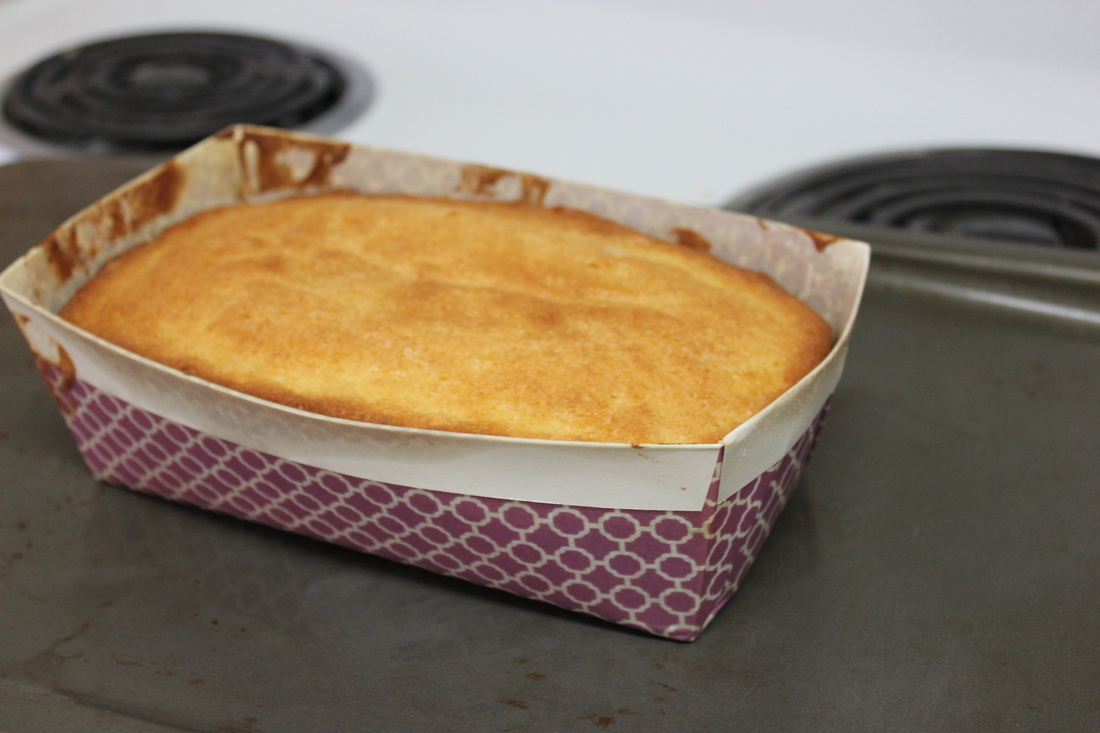
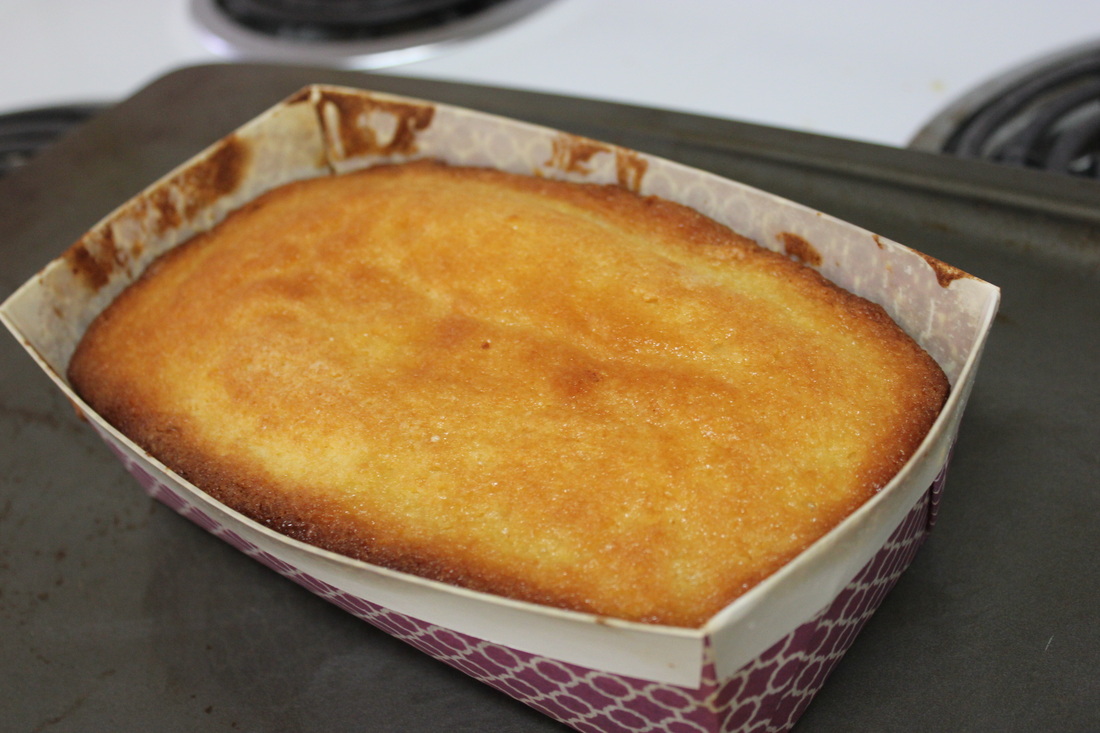
My review of the paper cake tin: 8/10
-I really like them because the pattern is really cute, and would be really cute to leave in if your giving the loaf as a gift or bringing it to a party!
-As well, it makes your life really easy because I don't know about you guys, but I hate lining loaf tins. I feel like I spend more time lining the tin then baking the cake so this is definitely much easier!
-Also, other paper loaf tins I've used in the past had grease stains on them which took away from the prettiness but these ones barely did, if at all so that's another plus :)
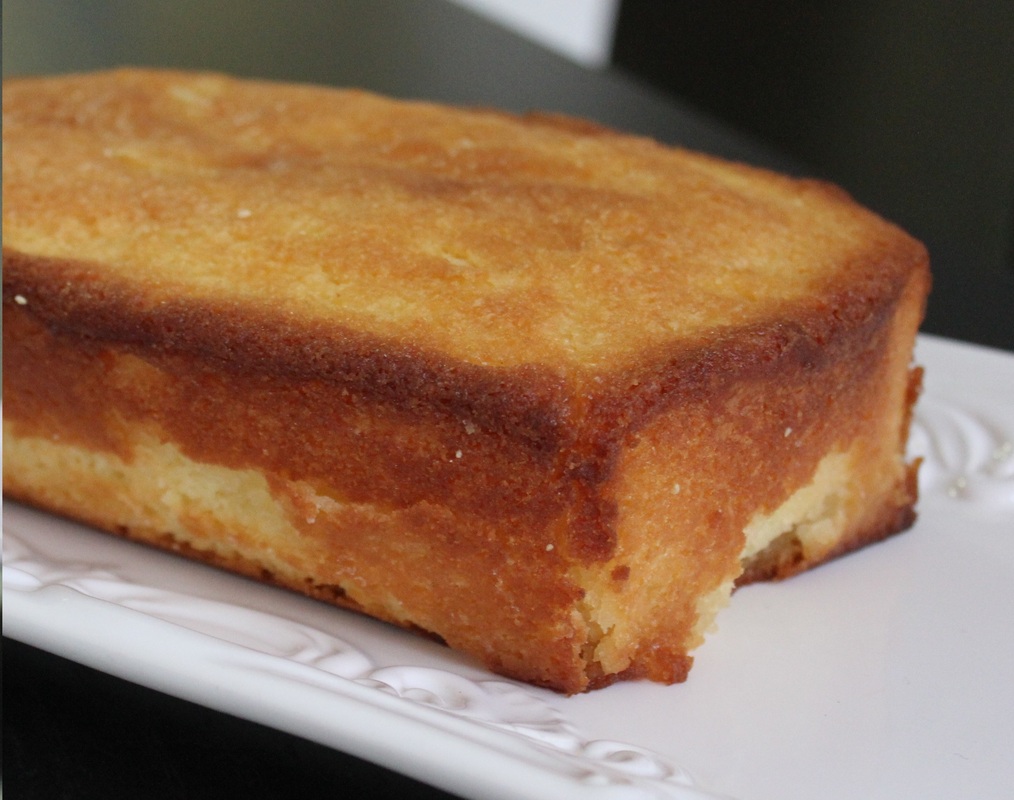
-Now for the downsides, as you can see in the photos above, it stretched a lot in the oven so the top of the cake ends up a lot wider than the bottom
-Also, the cake stuck to the sides a bit so when I took it out, the sides were a bit barren. The bottom came off really easily though which is nice and sometimes a challenge in metal loaf tins. But for those of you who are just going to leave it in the tin, this isn't a huge issue!
Overall, worth the money just for the time saving element and the cuteness factor!
-I really like them because the pattern is really cute, and would be really cute to leave in if your giving the loaf as a gift or bringing it to a party!
-As well, it makes your life really easy because I don't know about you guys, but I hate lining loaf tins. I feel like I spend more time lining the tin then baking the cake so this is definitely much easier!
-Also, other paper loaf tins I've used in the past had grease stains on them which took away from the prettiness but these ones barely did, if at all so that's another plus :)
-Now for the downsides, as you can see in the photos above, it stretched a lot in the oven so the top of the cake ends up a lot wider than the bottom
-Also, the cake stuck to the sides a bit so when I took it out, the sides were a bit barren. The bottom came off really easily though which is nice and sometimes a challenge in metal loaf tins. But for those of you who are just going to leave it in the tin, this isn't a huge issue!
Overall, worth the money just for the time saving element and the cuteness factor!
Back to the cake, this is a perfect cake for a tea party or a mid-day snack (or a middle of the night snack while I'm writing papers) because it's not too heavy and just the write amount of sweetness.

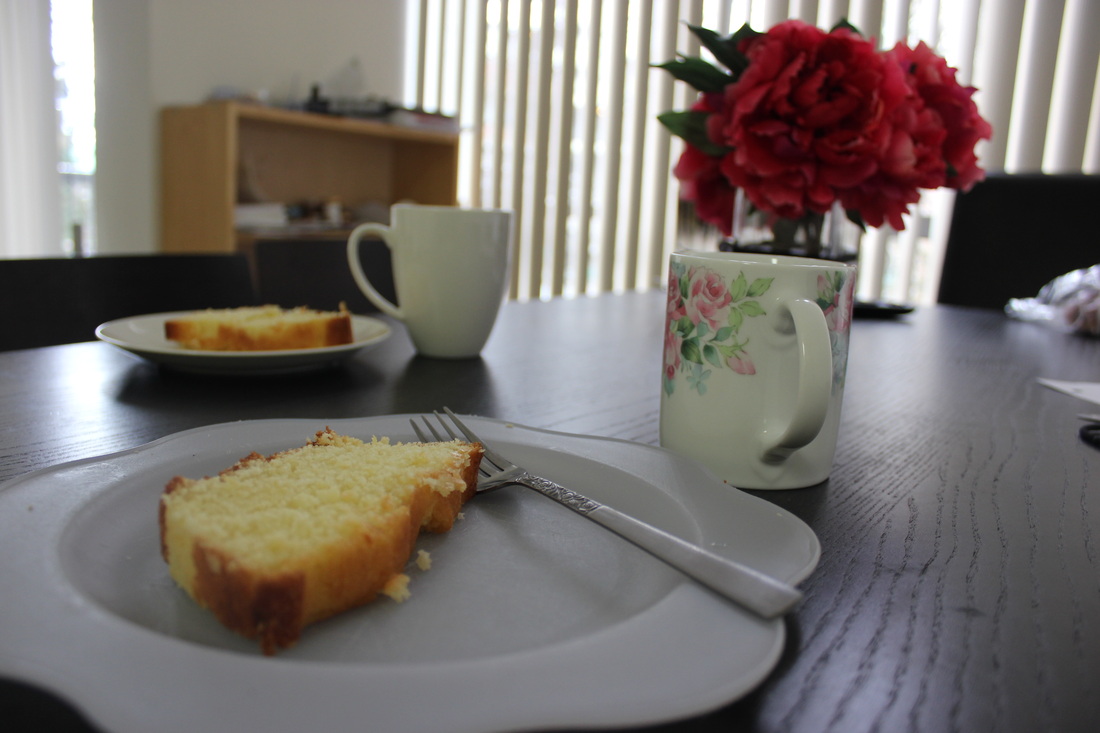
That's all for today bakers! Hope you enjoy this delicious cake if you make it :)
-Beth <3
-Beth <3
 RSS Feed